Forgot Butter? 4 Fast Ways to Soften It for Baking
Picture this: you've got your apron on, ingredients measured, and the oven preheating. You're ready to whip up a batch of those legendary chocolate chip cookies, only to open the fridge and realize your butter is as hard as a brick. We've all been there – the best intentions of setting out butter hours ago often fall victim to busy schedules or spontaneous baking urges. But don't let a forgotten stick of butter derail your baking dreams! Understanding how to soften butter correctly and quickly is a game-changer for any home baker.
Softened butter might seem like a minor detail, but its temperature and consistency are crucial for the texture, rise, and overall success of your baked goods. From fluffy cakes to chewy cookies and creamy frostings, getting your butter just right can make all the difference. In this comprehensive guide, we'll demystify what "softened butter" truly means, explain why it's so vital, and share four foolproof methods to achieve that perfect pliable state in a flash, even when time is of the essence.
The Unsung Hero of Baking: Why Softened Butter Matters
If you've ever wondered why your cookies spread into thin puddles, your cakes turned out dense, or your frosting lacked that luxurious smoothness, the culprit might have been your butter's temperature. In the world of baking, "softened butter" isn't merely butter that's no longer rock-hard; it's butter at a specific sweet spot that unlocks a cascade of chemical and physical reactions essential for optimal results.
The primary role of softened butter, particularly in recipes that call for "creaming," is to incorporate air. When butter is creamed with sugar, the sharp edges of the sugar crystals create tiny air pockets within the butter. These air pockets are vital for leavening, trapping steam and gases during baking, which in turn gives cakes their light, airy crumb and cookies their tender chew. Too-cold butter won't cream properly, leading to dense baked goods that lack structure and rise. The sugar won't be able to cut through the cold, rigid fat effectively, resulting in fewer air pockets.
Conversely, butter that's too warm or partially melted poses its own set of problems. Overly soft butter loses its ability to hold those precious air bubbles. When it's incorporated into a batter, the fat can separate, leading to an oily sheen and a weaker emulsion. This results in baked goods that might spread excessively, have a greasy texture, or fail to achieve the desired structure. For a deeper dive into this fundamental baking principle, check out What Softened Butter Really Means for Perfect Baking.
What "Softened Butter" Really Means: Beyond Just "Not Cold"
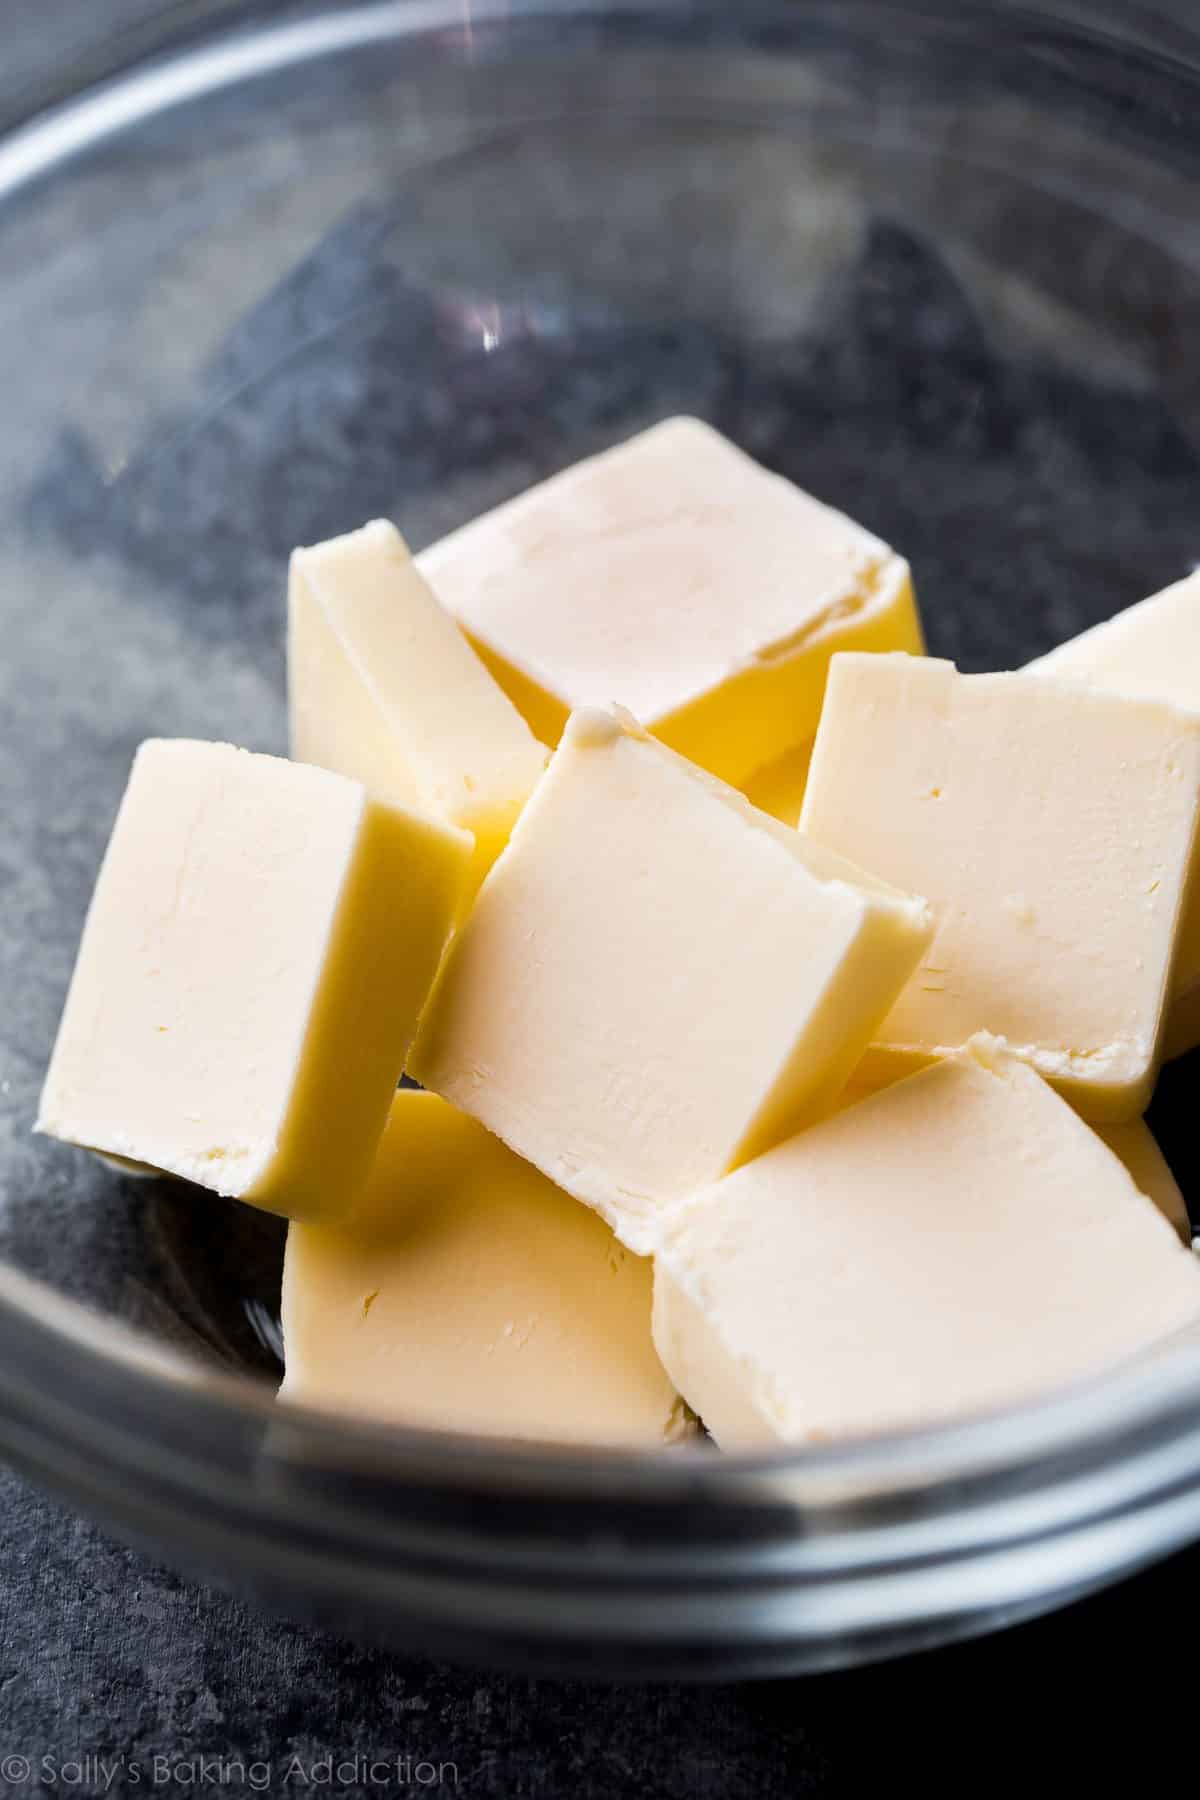
So, if "not cold" isn't enough, what exactly are we aiming for? The ideal temperature for softened butter is typically between 65°F and 68°F (18°C and 20°C). At this temperature, butter should be cool to the touch but pliable. The gold standard for checking if your butter is perfectly softened is the "finger test." Gently press your finger into the stick of butter. It should leave an indentation without your finger sinking all the way through or feeling greasy. Think of it like a stick of playdough: soft enough to mold, but still firm enough to hold its shape. You shouldn't see any oily sheen or melted spots.
Achieving this consistency is about allowing the butter to soften evenly from the inside out. When butter warms gradually, its fat crystals slowly relax without breaking down completely. This uniform softening is what allows it to emulsify properly in batters, creating a stable foundation for your baked goods. Any method that introduces heat too rapidly or unevenly risks creating a stick of butter with a solid core and melted edges – a common pitfall that can still compromise your recipe.
Out of Time? 4 Clever Ways to Soften Butter Quickly
While the absolute best way to soften butter is to let it sit at room temperature for an hour or two, life (and baking cravings) often doesn't allow for such patience. Fear not! These four tried-and-true methods will help you get that perfect pliable butter in a fraction of the time, rescuing your baking endeavors from an untimely halt.
Method 1: The Grater Game-Changer
This is arguably one of the fastest and most foolproof methods that doesn't involve any heat. Grab a box grater (the kind you'd use for cheese) and your cold stick of butter. Hold the butter and run it over the large holes of the grater onto a plate or a piece of parchment paper. The butter will emerge in thin, delicate shreds. Because these shreds have a significantly increased surface area, they will come to the ideal softened temperature in a matter of minutes – often just 5 to 10 minutes, depending on your kitchen's ambient temperature.
This technique is particularly effective when your recipe calls for creaming butter and sugar, as the small shreds are already halfway to being broken down and will incorporate air more readily. A clever trick to minimize mess: grate the butter directly into the mixing bowl, or onto a piece of parchment paper for easy transfer. You can even chill your grater in the fridge for a few minutes before grating to prevent the butter from sticking excessively.
Method 2: The Warm Water Bath (Hot Glass Method)
This method leverages gentle heat from warm water to create a steamy environment that quickly and evenly softens butter. Here’s how to do it:
- Grab a tall drinking glass (or a bowl that can fit over your butter stick).
- Fill the glass with very hot tap water (not boiling) and let it sit for a minute or two to warm up the glass.
- Pour out the hot water and quickly dry the inside and outside of the glass thoroughly.
- Place the cold stick of butter upright on your counter or a plate.
- Carefully invert the warm, empty glass over the stick of butter, ensuring the glass entirely covers it.
- Let it sit for about 5-10 minutes. The residual heat and steam inside the glass will create a mini sauna, gently warming the butter.
Check the butter after 5 minutes; it should be perfectly pliable. The beauty of this method is its evenness – the butter softens uniformly without melting the edges, a common issue with direct heat. Ensure the glass is completely dry before placing it over the butter to avoid introducing any water, which can negatively affect your baking.
Method 3: The Rolling Pin Power-Up
If you need softened butter and also a bit of stress relief, this method is for you. Take your cold stick of butter and place it between two sheets of parchment paper or plastic wrap. Using a rolling pin, gently but firmly beat and roll the butter until it flattens into an even, thin sheet, about ¼-inch thick. The physical action of rolling and the increased surface area will quickly bring the butter to the desired temperature.
This method is fantastic because it’s fast, relatively mess-free, and gives you a lot of control. It's especially useful if you're making something like a pie crust or laminated dough that requires thin, pliable sheets of butter, but it works equally well for any recipe calling for softened butter. Once flattened, you can easily cut it into smaller pieces for faster integration into your recipe, or even re-roll it into a log shape if needed.
Method 4: The Microwave's Gentle Touch (with Caution!)
The microwave is often a baker's first thought for quick softening, but it comes with a significant caveat: it's incredibly easy to melt butter, not just soften it. Melting butter, even slightly, changes its structure and will negatively impact your baked goods. If you choose this method, proceed with extreme caution and follow these steps precisely:
- Cut the cold stick of butter into smaller, uniform pieces (e.g., quarters or eighths). This helps distribute the microwave energy more evenly.
- Place the butter pieces on a microwave-safe plate.
- Microwave on the lowest power setting (defrost setting if available) for very short bursts, typically 5-10 seconds at a time.
- After each burst, flip the butter pieces and check their consistency with your finger.
- Continue microwaving in tiny increments until the butter is just pliable enough to leave an indentation.
Never walk away from the microwave when softening butter. It can go from perfectly softened to a melted puddle in seconds. This method should truly be a last resort, reserved for when other options aren't feasible, and only when you're prepared to supervise it meticulously. Rotate the plate and the butter pieces to minimize hot spots and ensure even warming.
Essential Tips for Butter Softening Success
- The Finger Test is King: Always, always use the finger test to confirm your butter's consistency. Visual cues alone can be deceiving.
- Don't Overdo It: If your butter starts to look shiny or oily, it's too warm. If it actually melts, don't despair! You can try chilling it in the fridge for 10-15 minutes, then re-testing. If it's too far gone, it might be better to save it for sautéing or other applications where melted butter is acceptable, and grab a fresh stick for your baking.
- Cut for Speed: Even for the traditional room temperature method, cutting a stick of butter into smaller pieces (cubes or slices) will significantly reduce the softening time compared to leaving it whole.
- Room Temperature is Key: Remember, your kitchen's ambient temperature plays a huge role. If your kitchen is very cold, these methods might take slightly longer. If it's very warm, be extra vigilant to prevent over-softening.
- Plan Ahead (When Possible!): While these quick hacks are lifesavers, the ideal method remains letting butter soften naturally at room temperature. Try to get into the habit of pulling it out an hour or two before you plan to bake.
Mastering the art of softened butter is a fundamental skill that elevates your baking from good to truly exceptional. For even more insights and practical advice on perfecting this crucial step, be sure to read our guide on Master Softened Butter: How to Get it Right Every Time.
Never Fear Hard Butter Again!
Forgetting to take butter out of the fridge is a universal baker's dilemma, but it doesn't have to spell disaster for your baking plans. By understanding the critical role of properly softened butter and having these four clever methods in your arsenal, you can confidently tackle any recipe that calls for this essential ingredient. From the quick gratification of grating to the gentle warmth of the hot glass, you now have the tools to achieve that perfect pliable consistency every time. So go ahead, bake those cookies, whip up that cake, and enjoy the perfectly tender, airy results that only properly softened butter can provide!
